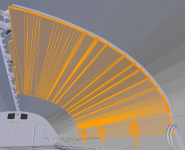
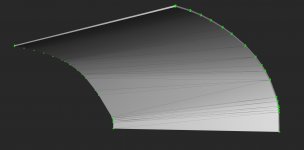
Aside from the gaps on the sides, the diameter of the round part is too small, the radius should be 0.26924m (center at Zo 287, bottom at Zo 276.4). Also, from photos and diagrams, the body flap is flat until the round part, i.e., it doesn't have a "step".No, just the body flap. Was about a five-minute job really. I've attached it to this post just in case you want to look at it. It's in a better position now (further aft) as the round section should be partially visible.
I have this almost done.


") . That means that (at least) the aft end of the OMS pods is not well positioned, and as we know where the OMEs should be (so they won't move now),the RCS pods will (hopefully) move away in the correction.
. That means that (at least) the aft end of the OMS pods is not well positioned, and as we know where the OMEs should be (so they won't move now),the RCS pods will (hopefully) move away in the correction.