Hi guys,
Progress report 2024-W28:
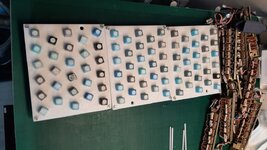
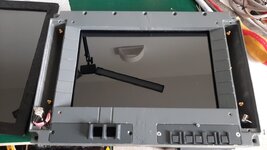
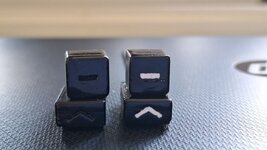
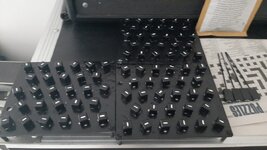
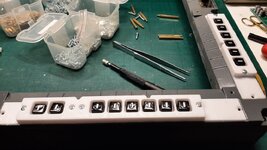
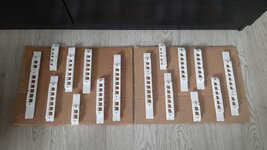
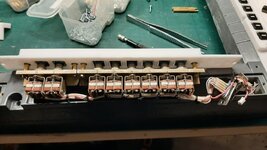
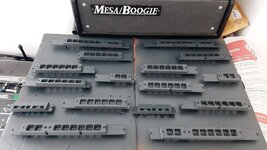
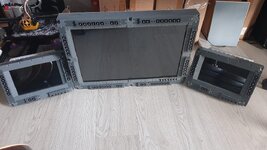
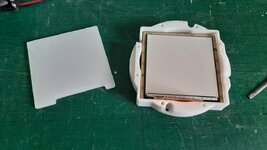
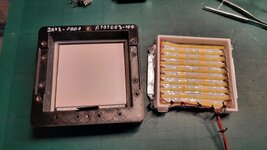
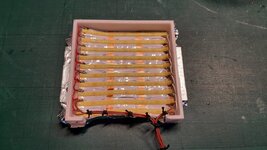
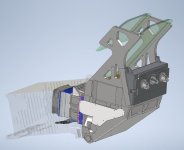
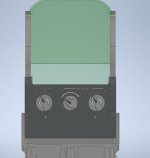
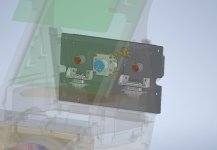
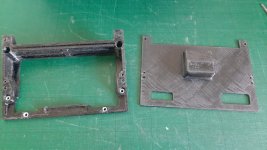
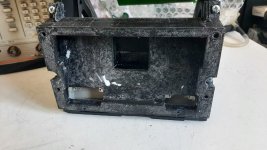
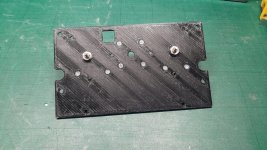
- MFD buttons and corresponding lids are finished.
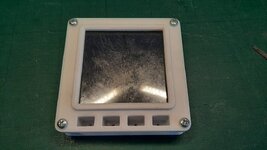
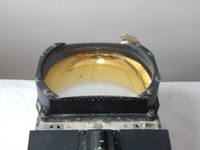
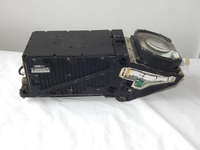
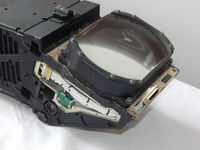
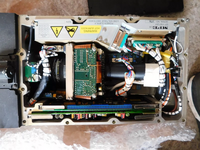
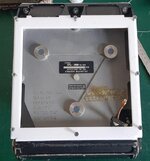
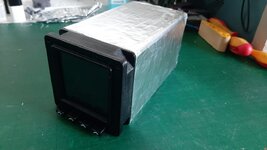
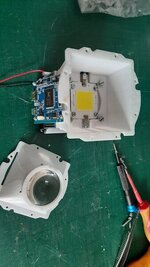
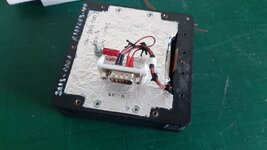
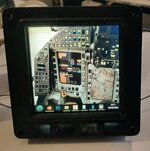
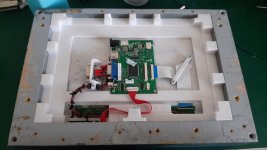
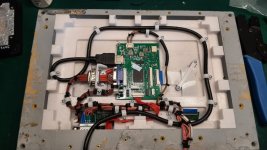
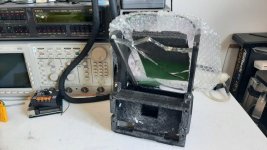
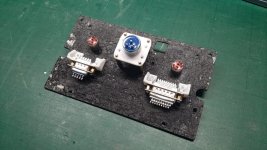
- Circuit reverse engineering of the HUD unit has been started. Tracing of input EMI filter is complete. Low voltage power supply is underway.
The only 2x things left to finish those MFDs hardware-wise are creating ID plates and gluing some blue velcro all around front bezels and then fun of programming them begins haha
Regarding reverse engineering the HUD - I've managed to figure out supply voltages - there are as follows:
1) 200 VAC, 400Hz, 3 ph (!) - main AC supply.
2) 115 VAC, 400Hz, 1 ph - front control panel backlight supply (not required in my design) – typical backlight voltage for Tornados.
3) +28 VDC - DC main supply.
Funny thing about that 3phase AC line - there are no motors inside, it only passes EMI filters and hits a bridge rectifier brick right off the bat after.. haha
I guess this design decision was made because 200VAC/3ph is the primary supply bus in Tornado aircraft.
After the rectifier it’s converted to 200*1.35 = +270 VDC, so now I'm looking for a nice way to re-produce this voltage via different dc-dc converters.
BTW, all those 200/115VAC lines are supplied via typical d-sub connectors
")
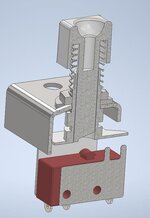
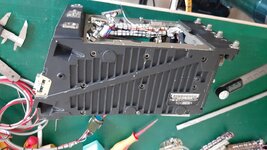
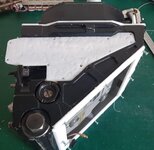
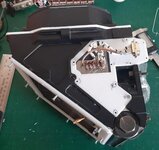
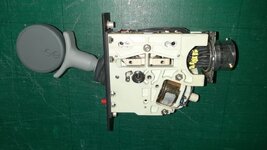
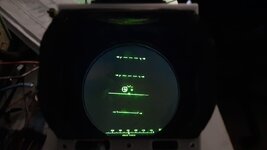
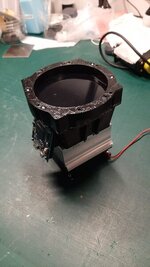
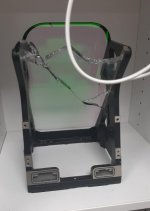
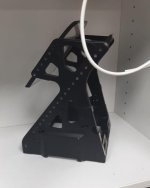
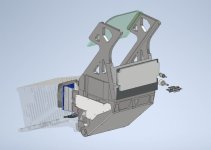
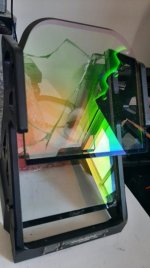
PS. I haven’t taken any photos of assembled gear lever, I went straight into business and removed enclosure for “inspection”.. lol
It looks like this:
https://forum.dcs.world/uploads/mon...C4.jpeg.4434fcee52f2bf859de43d5fe1ba88b7.jpeg